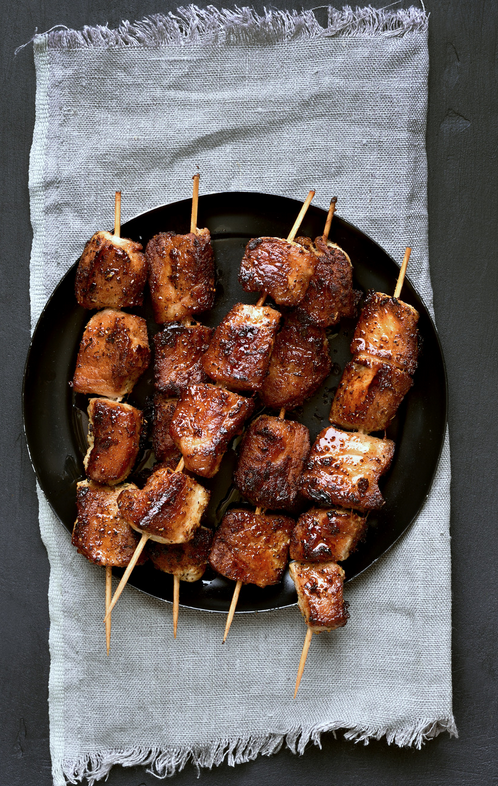
Teriyaki Seitan Chicken
It's truly amazing what happens when you relax and have the space to just create. Recently I was jons'ing for some teriyaki chicken and knew I had the ingredients to create this, but really was unsure how to go about it. I was under no pressure to get a new recipe up on my website and I had a little time to do "nothing", so I created something.
Ingredients
Setup
Dry ingredients
- 1 cup vital wheat gluten
- ¼ cup chickpea flour
- 1 teaspoon salt
- 2 teaspoons onion powder
- 1 tablespoon poultry seasoning
- 1/8 teaspoon black pepper
- 3/4 cup vegan chicken broth
Broth
- 5 cups vegan chicken broth
Teriyaki sauce
- ¾ cup prepared teriyaki sauce
- 1 tablespoon cornstarch
Directions
Whisk together the dry ingredients Add the ¾ cup broth and mix, place on a flat surface and knead for about 5 minutes.
Add the broth in a medium sized pot and bring to a boil and reduce to medium heat.
Cut the the seitan into bite sized pieces and place in broth. They will triple in size during the cooking process. Simmer for 45 minutes.
After the seitan has cooked, allow it to cool on a cooling rack for 15-20 minutes.
Mix the teriyaki and corn starch together and pour it into a sealable plastic bag, like a Ziploc. Add the seitan, press out any extra air and seal the bag. Massage the sauce into the seitan, making sure all the pieces are coated. Place in the fridge to marinate one hour to overnight.
To a medium high skillet, add the seitan, reserving the marinade.
Keep a small dish of water nearby.
You’re searing the seitan now to get a little crispiness on the outside. When it begins to stick to the pan, add a teaspoon or so to the pan, only to loosen the seitan and deglaze a bit.
When you are satisfied with the texture, add in the rest of the marinade and allow it to all cook down. It will become thick. Transfer the seitan to a plate/platter when nearly all the liquid has evaporated and there is a glaze on the seitan.
Your teriyaki seitan chicken is now ready to be skewered, tossed in a salad, wrapped in a pita or burrito or for whatever you can dream up!
This could easily be batched out (use a big pot, like a Dutch oven) and then frozen. If you do freeze them, do not sear them yet. Only sear the pieces/cutlets that you'll use in the next 5-7 days. Freeze the rest in freezer safe containers. When ready, defrost fully in the fridge overnight and then sear up using any sauce you'd like!
______________________________________________
Do you know about our STREAMING PLUS membership?
Our membership is built like a streaming service - you get a full library of plant-based cooking classes to watch whenever you want. PLUS, you gain access to upcoming interactive virtual cooking classes and a monthly accountability group call.
As a member you get:
- Complete library of all past virtual classes - stream them whenever you’d like!
- Free access to monthly virtual classes with both Chef Caryn and Dr. Loomis (new upgrade!!)
- Library of easy and quick recipes: 150 and growing
- Monthly accountability check-in and support group Zoom call with Caryn
- Quarterly “Ask the Doc” call with Dr. Jim Loomis, our Medical Director
- A community of support
To learn more, please visit us here.